Categories
Cook Book

Goodner’s Greens

Ingredients

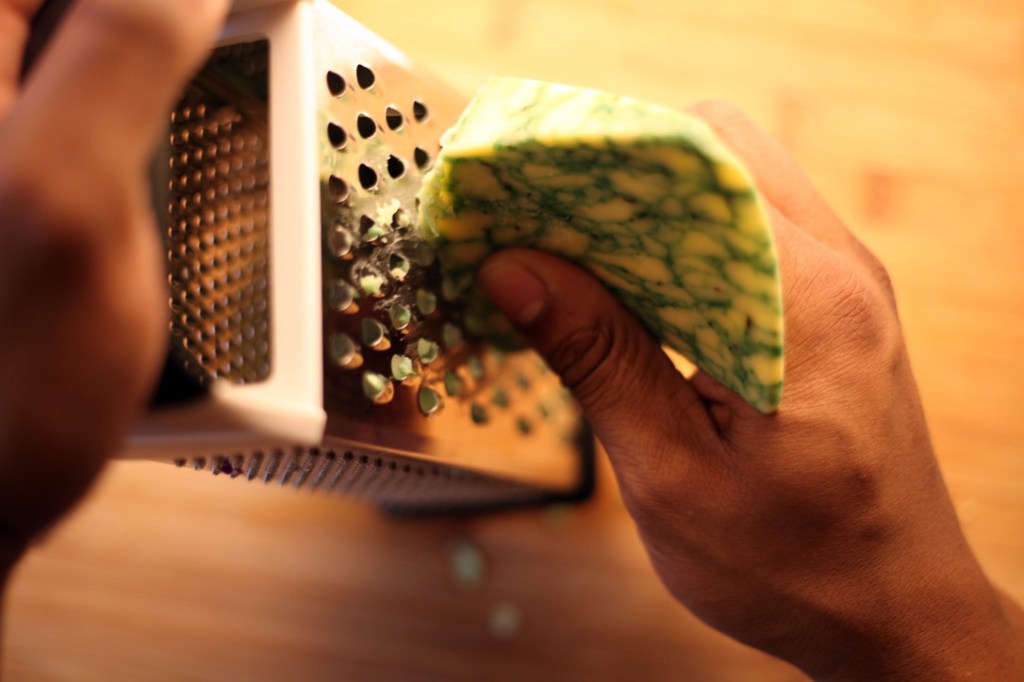
One stalk of collard greens
4 cups of beef broth
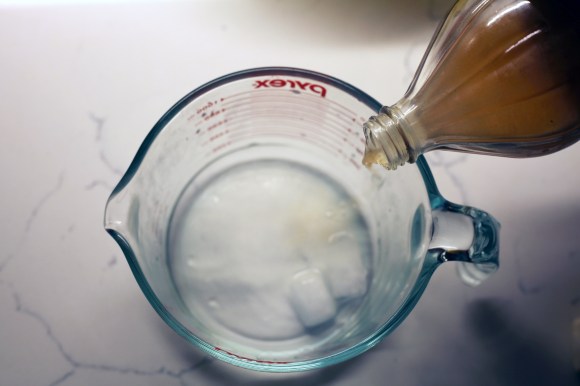
1 cups pickle juice
2 cups apple cider vinegar
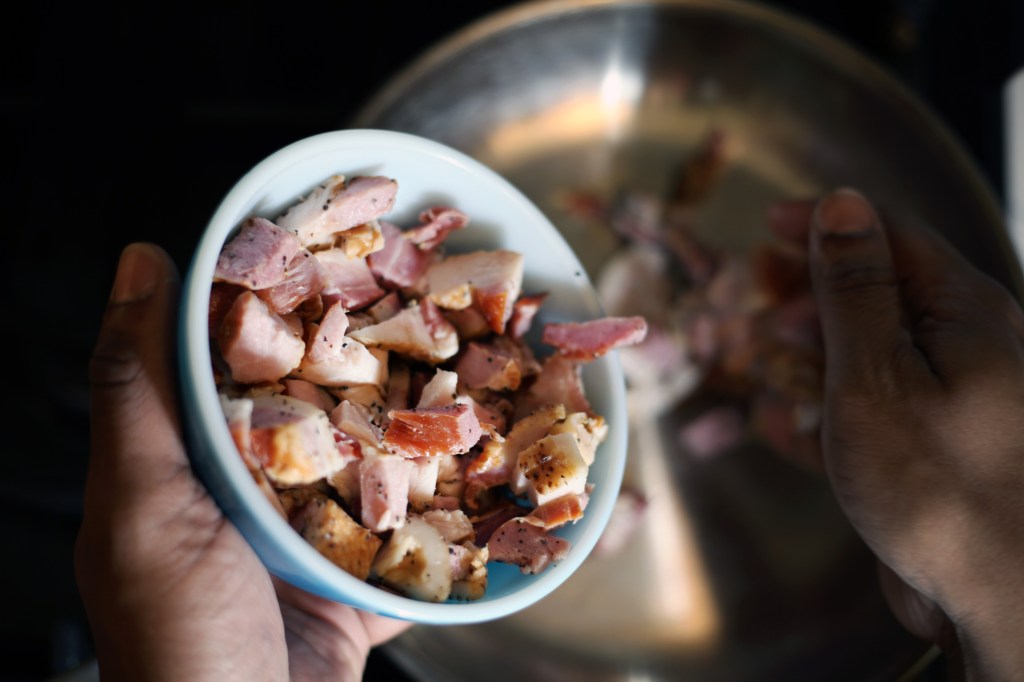
Quarter pound of bacon
2 chopped onions.
Salt
Garlic salt
Black pepper
Red pepper flake

You have to clean collard greens. Did you know that? I mean really clean them. I soaked mine in a plastic tub with cool water and apple cider vinegar. I let them sit for an hour before I rinse and  pat each leaf dry. For amazing greens there are no shortcuts. Be ready to spend the day preparing one of the best things you’ve ever eaten.

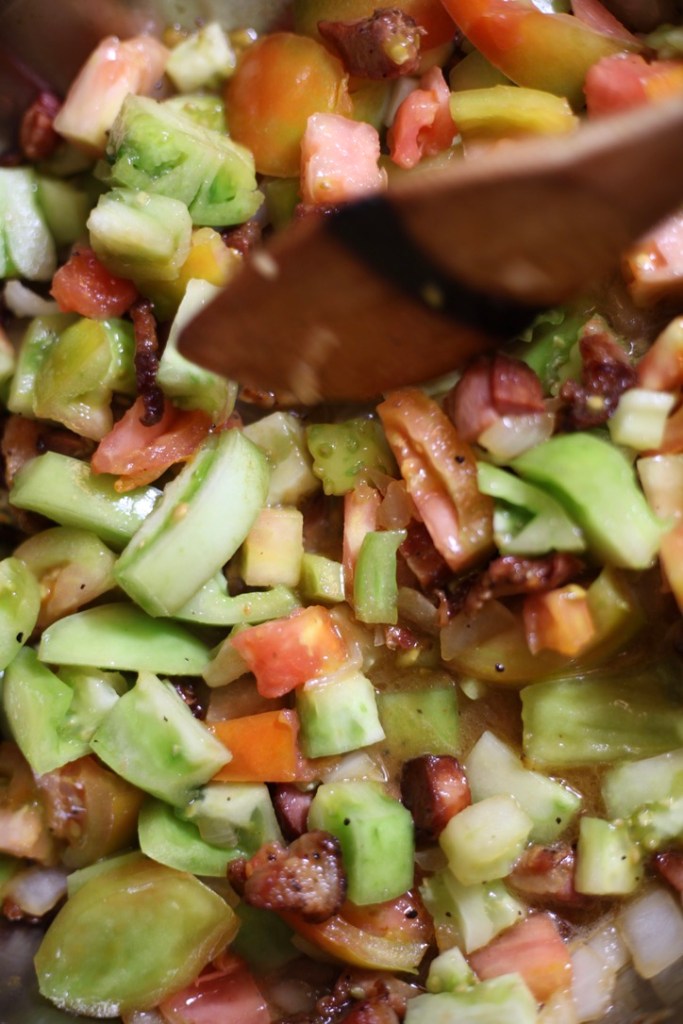
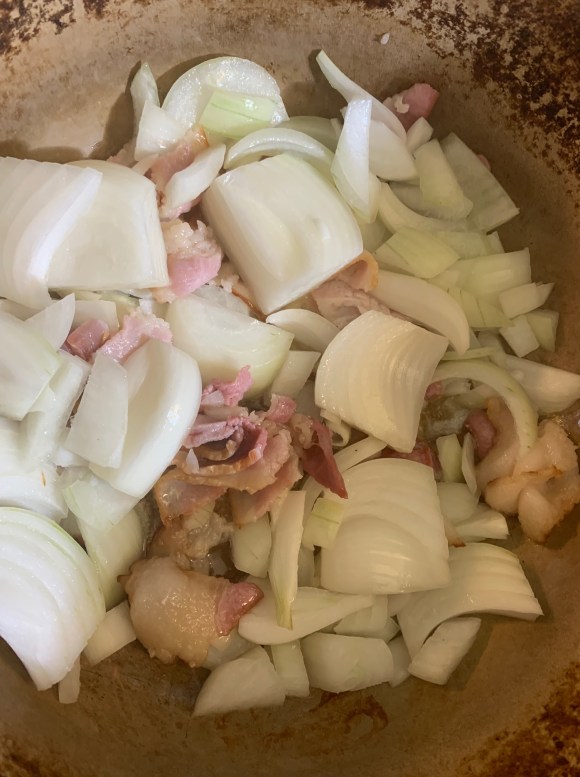
1. Quarter your half pound of bacon and dice your onion. Throw both into the large pot you intend on cooking your greens. We’re going to start here because rendering the fat from the bacon will help the onions caramelize and add the base of flavor for the greens.

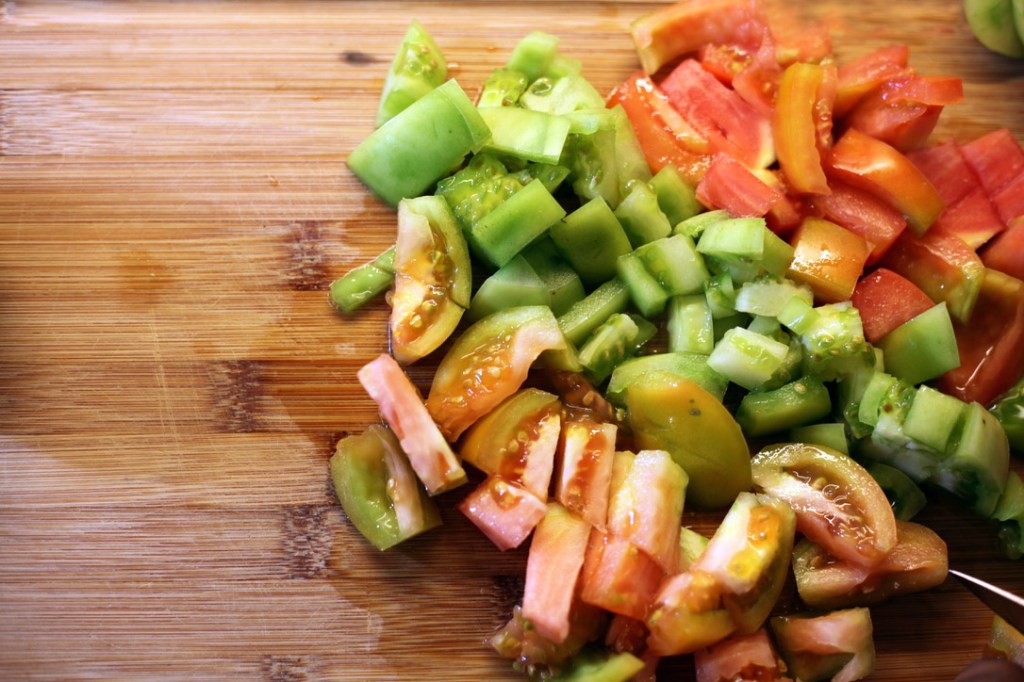
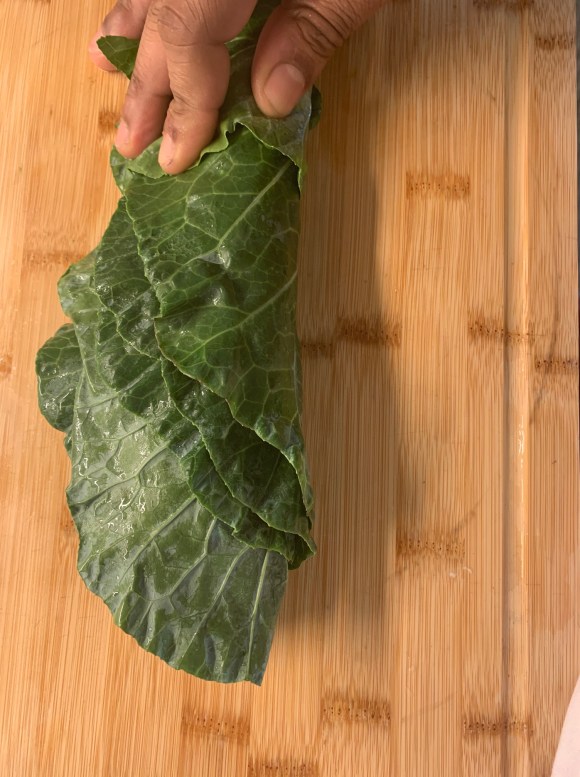
2. Roll your cleaned and dry collards like you’re rolling your own cigarette or sleeping bag (depending on your childhood). Chopping them this way helps them cook evenly while also preserving texture.

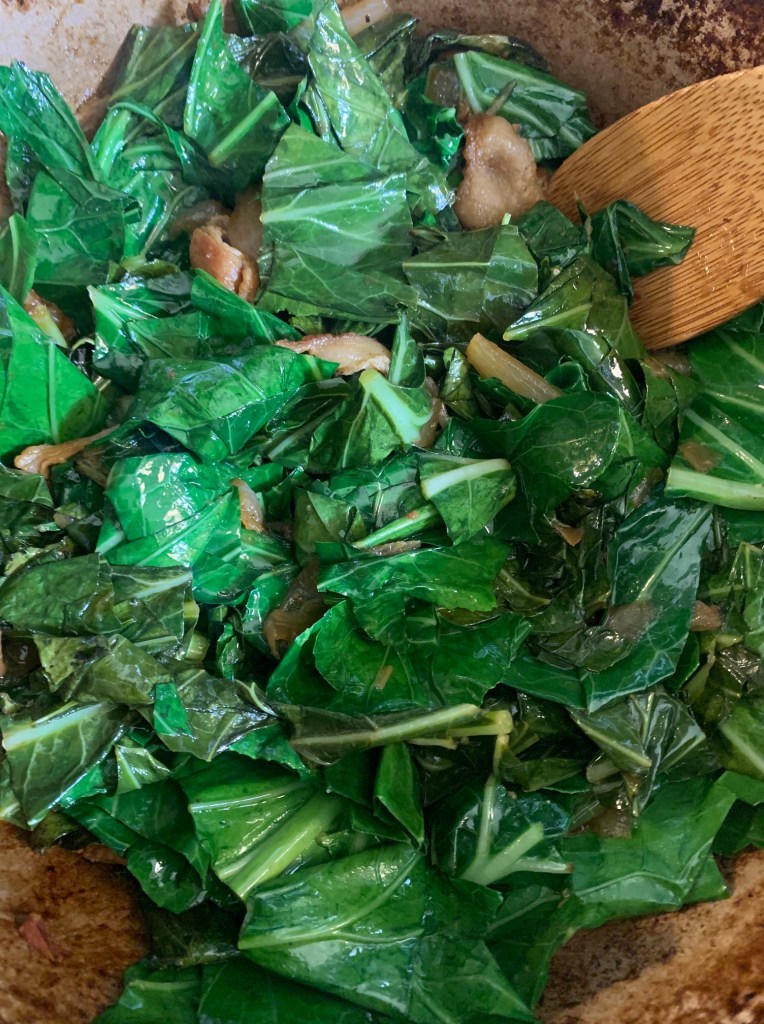
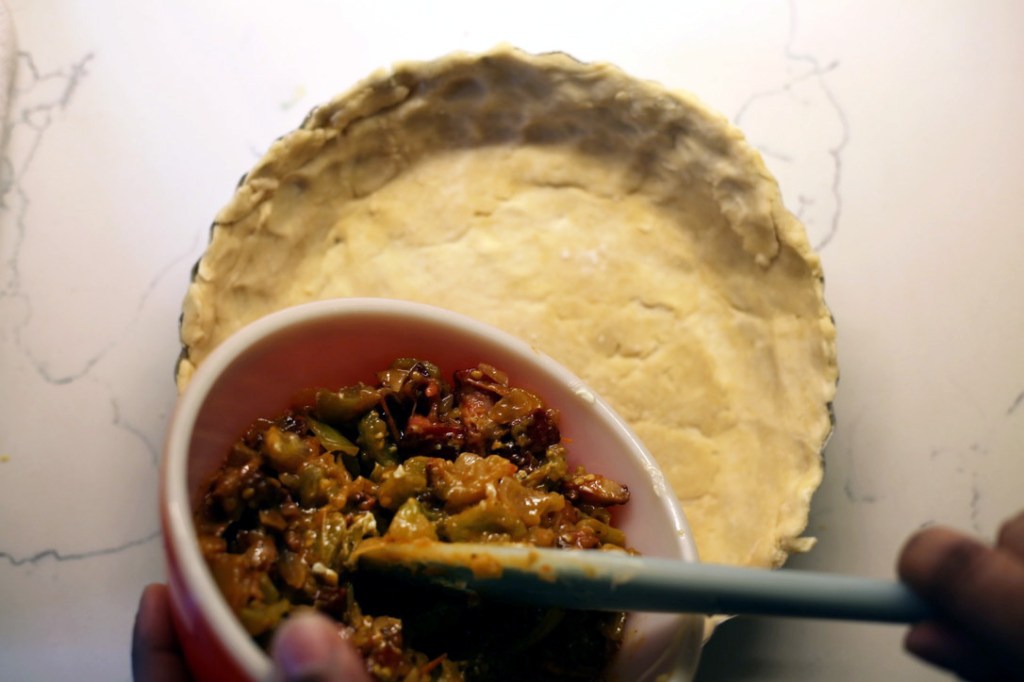
3. Once your onions begin to caramelize and your bacon is right before crispy, add in your chopped greens little by little allowing the first handful to wilt before the next.

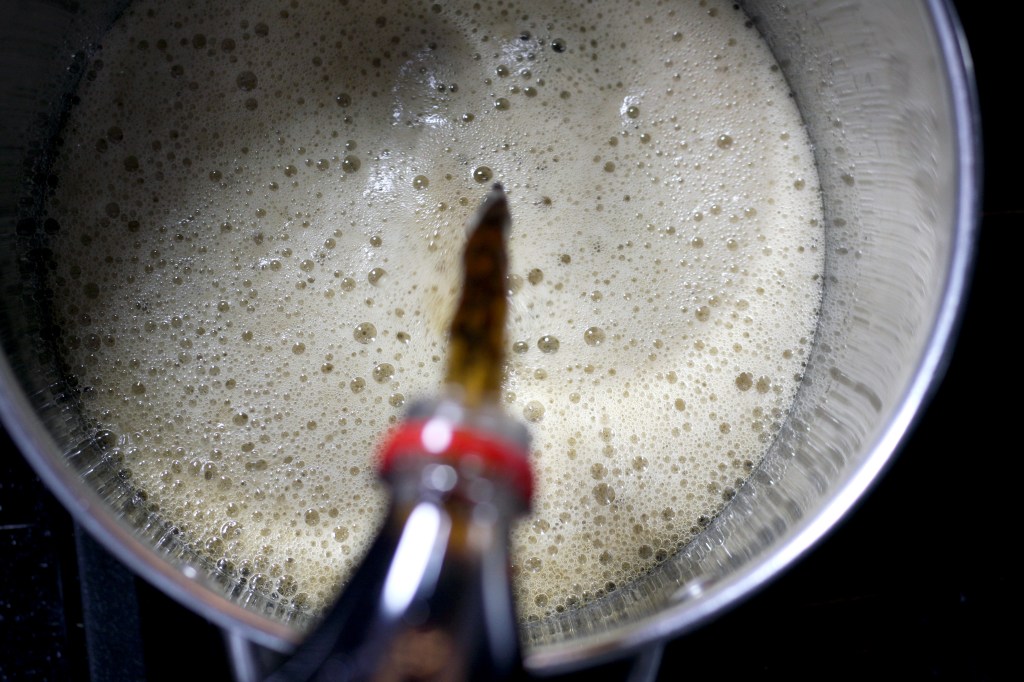
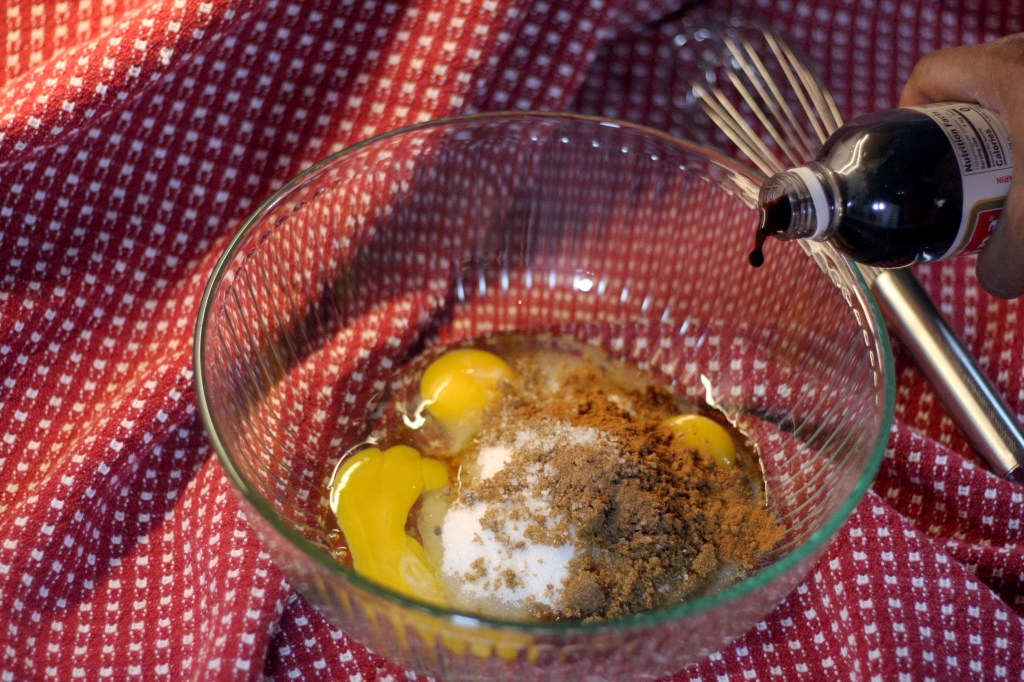
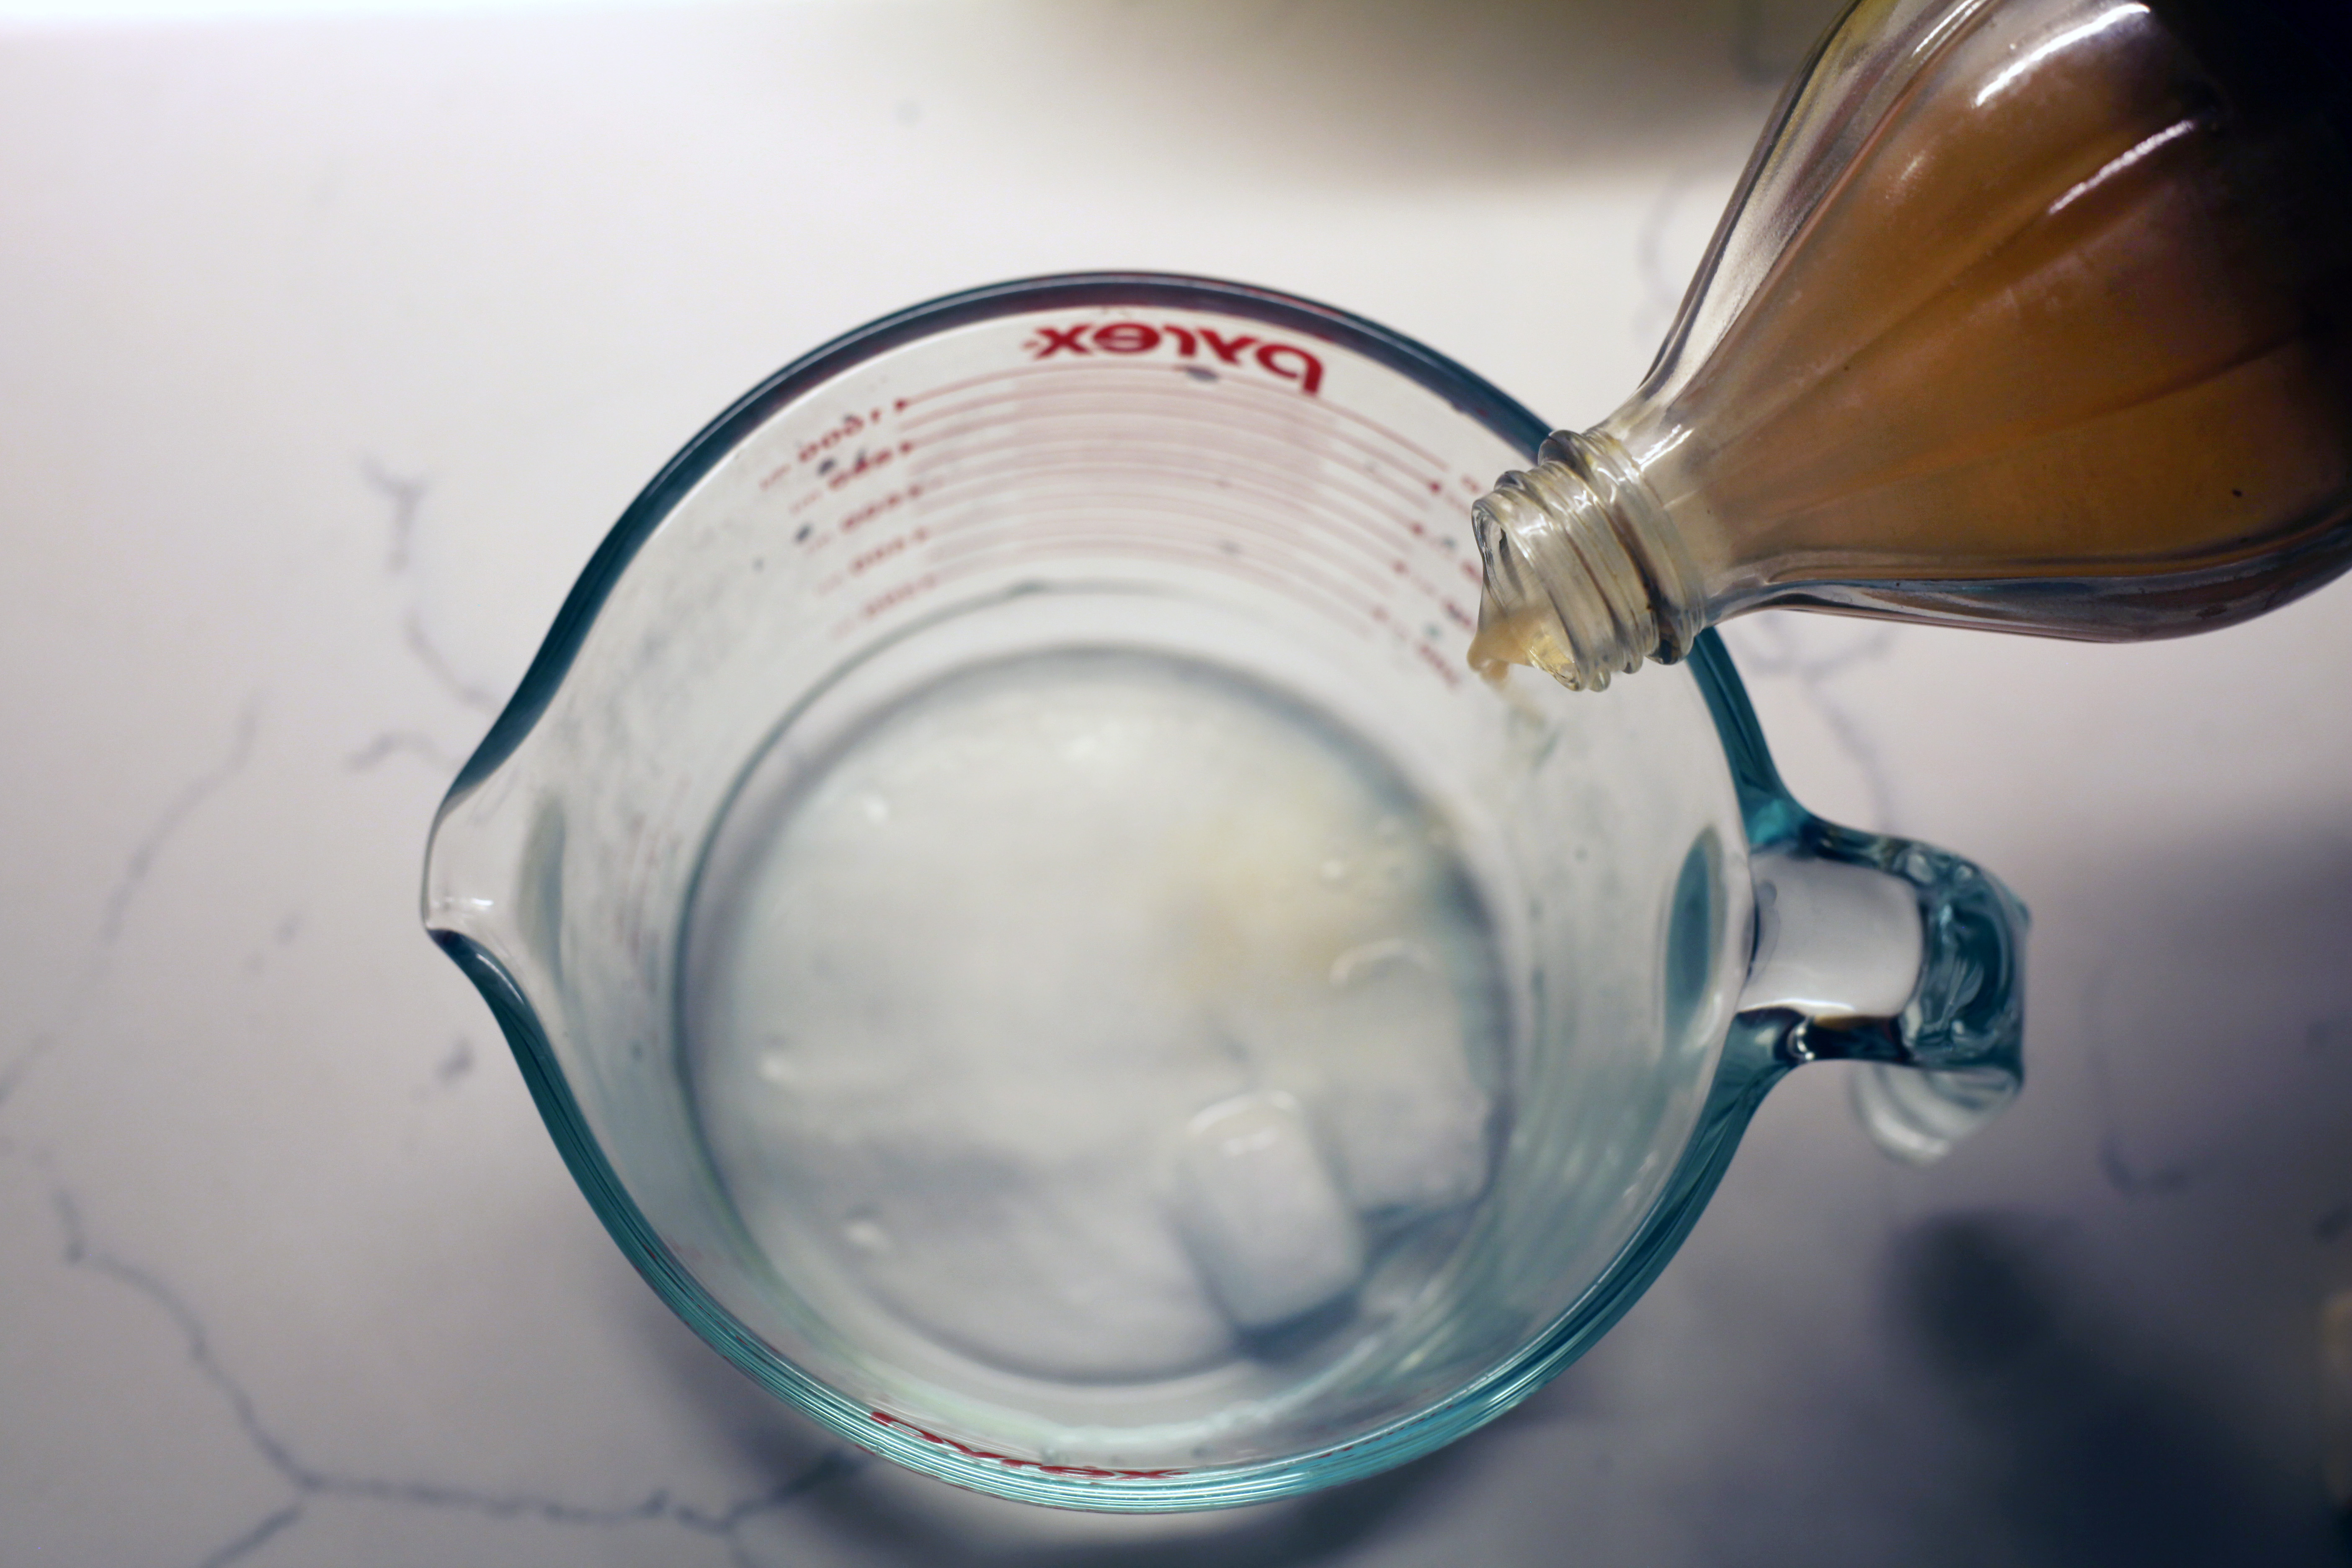
4. Add in the beef stock. Add in the pickle juice. Add in the apple cider vinegar and season. I liberally seasoned these with black pepper, salt, garlic salt, and red pepper flakes.

5. Let these guys cool! I mean, like, for at least 2 hours and any time you can add will only increase the flavor. I recommend 4. The key is adding more liquid as needed. Over time the remaining liquid will turn into a rich broth. 

Categories
Cook Book

Goodner’s Jerk Chicken

Ingredients

3-5 Boneless Chicken Thighs

2 cups Pickle Juice

2 cups Buttermilk

¼ cup Mustard

Walkerswood Jerk Chicken seasoning

The brine of pickle juice and buttermilk is something I do for every piece of chicken I make if time allows. You know that “chik fil a” something that you taste in all of their sandwiches? It’s pickle juice. 

1. Combine pickle juice with buttermilk and pour over chicken. I used boneless chicken thighs here because leftovers make excellent sandwiches, but this works well with any cut you’d like. Grilling time will vary.  Brining for at least 24hrs for best results but 3-4 hours also yield amazing results. The point is – always do this.

2. Take the chicken out of the brine and pat dry. Then toss in the Walkerswood Jerk seasoning and mustard. Unless your family is Jamaican and you have an incredible recipe, the LC Walkerswood is the one you want.

3. Grill the chicken. This is a quick process. If your grill is heated properly, it’s a ten min process. Once you can pull it to the side and see no pink in the center, it’s done. The brine also adds a little moisture safety net that offers a little protection from over cooking.

Categories
Cook Book

Bibingkang Malagkit

By Camille Pase

I don’t know if there is a short way to describe why this particular dish means so much to me, but when I was young my mom made a lot of sacrifices and stayed home. She cooked so many great things every day but to me, I always of course loved the desserts. 

This dessert is called Bibinkang Malagkit – sticky rice cake.

As I mentioned in the podcast, there were times my dad had to have multiple jobs and my mom, while she was at home with us, made desserts for a few local Filipino restaurants for extra money. If my mom had a preference, I think she would have been awesome in the restaurant industry. 

Fast forward to now — I have my own two little kids and my parents have retired, so they come once a year to help us and spend time with us. During this time, in the kitchen, I’m getting back to my roots and really learning from my mom (I went to culinary school for a bit, I was a vegan for a while, and I just love food in general so even at home I’m all over the place with my own food and cooking.) 

My mom and I really bond in this way, we actually have a little box of our own started with recipes we have tried together and of course her specialties for my own future use. 

This dessert is simple, it’s like that warm hug in your belly, and it’s something I request at least once when they visit. Best served slightly warm (IMO), some people like it any temp, but if you happen to have any left ain’t no shame in the microwave game. 

(Extra bonus: this dessert is vegan! So I never had to stop enjoying it even though I was disappointing my parents with my dietary restrictions.) Spoiler, I’m not vegan anymore. 

Bibingkang Malagkit (sticky rice cake)

Ingredients:

3 cups glutinous (sweet rice) (rinse the rice first!) 

3 cans coconut milk

1 cup water 

1 ½ cup brown sugar

Banana Leaves

Directions:

Preheat your oven to 350 degrees.

  1. In a non-stick saucepan, bring 3 cups of glutinous, 1 can coconut milk, and 1 cup water to a boil and let simmer on med/low. Stir occasionally because you don’t want the rice to stick to the bottom 
  2. Once it starts to thicken, add ½  cup brown sugar 

Typically takes about 15-20 minutes for the consistency you want –  think sticky rice pudding.

  1. Put to the side once finished. 

For the topping 

  1. Place 2 cans of coconut milk  and 1 cup brown sugar in a saucepan to let thicken – stir, stir, stir! (You don’t want to burn the cream)
  2. Once caramelized, set to the side.
  3. In a baking dish place * banana leaves* (there are other recipes that you can leave out the banana leaves but it is highly suggested and the banana leaves adds an extra flavor to the rice.) 
  4. Pour the sticky rice over the banana leaves in the baking dish and spread evenly
  5. Pour topping over the rice 
  6. Place in the oven until the rice cake is firm and the topping is caramelized and bubbly. Some charred spots are still tasty but just keep an eye on the sugar. (Approx 15mins) 

Let cool, and enjoy!

Categories
Cook Book

Mac n’ Cheese

Ingredients:

1lb macaroni noodles 


Half pound of sharp cheddar (I used Murray’s) 

Half pound of dealers choice buy something melty and nutty or on the milder side (I used Murray’s Fontina)


3/4 cup of whole milk

 
2 eggs


Half cup of reserved pasta water


Half stick of butter cut into small square “pats”

2TB of whole grain mustard 

Salt Black pepperPaprika 


Alright so fancy cheese aside, this is my mother’s exact recipe. Even though she wasn’t buying cave aged cheddar or small batch Gouda made by nuns in Virginia (this is a real thing, google it) she always, always shredded it from one of those huge blocks. This is key. Whether you use the best or just whatever’s on sale at Kroger, shredding it yourself is nonnegotiable.  


This is meant to be easy, simple, and you should almost always have everything you need to make it as a side dish, or the star of the show. 

Directions:

1: Salt that water before any pasta goes into your boiling water.


2: Once the pasta is cooked, drain. As you’re draining the water, put a half cup to the side. The starches that the pasta releases into the water will help thicken your macaroni mixture.


3: Shred that cheese!


4: In a mixing bowl pour the cooled pasta, most of the shredded cheese (save half a cup for the top), the milk, the reserved water and the eggs. 
*It’s important that all of your ingredients are cool. You don’t want to scramble the eggs, you’re making a sauce. 


5: Season your pasta mixture with the salt, pepper, paprika and whole grain mustard. I didn’t include measurements for the seasoning because you should “season till your Ancestors say stop,” so that’s what I’m going to tell you. On the off chance that they don’t speak to you, use roughly a half teaspoon of each spice. Also trust me on the mustard it makes the Mac and Cheese taste more like Mac and cheese. If you know what I mean. 


6: Place your macaroni mixture in your favorite casserole dish. Top with the remainder of the cheese, the half stick of butter cut into thin squares and another sprinkle of Black pepper. 


7: Bake at 350 for 30 minutes or until golden brown.

You’ll know it’s just right if you can cut a square and it mostly stays together. The egg mixture has now turned into this beautiful cheesy, custardy thing that makes all feel right in the world. 

Categories
Cook Book

Coca-Cola Pecan Pie

How weird it must be that you’ve decided to make Coca-Cola Pecan Pie. Like a lot of dishes we found made with Coke, this peculiar recipe is odd and delicious. It also points to the omnipresent Coke marketing Machine and it’s far reaches in different aspects of our life.

First, as always, I attempt to do the most – I oven smoke the pecans with apple wood and rosemary. They really give the pie a deeper richer flavor. Pecans and rosemary work together beautifully.

Ingredients:

1 cup dark Corn Syrup
3 eggs
1 cup granulated sugar
2 tablespoons butter, melted
1 teaspoon pure vanilla extract
Tb cinnamon
2 cups whole pecans
1 9-inch unbaked OR frozen deep-dish pie crust (see our recipe for pie crust)
2 liters of Coke

Rosemary and Wood chips for smoking the pecans

Directions:

1. You need to prepare your oven to smoke the pecans first. Place a handful of wood chips and 2 sprigs of rosemary on a metal or glass baking dish. Just barely cover with water. Put cooling grates on top and cover with aluminum foil.

2. Poke holes through the foil and set pecans on top. Now cover the entire pan in foil and place in then at 250 degrees. The foil will start to puff up ensuring the smoke isn’t escaping.

3. Smoke the pecans for 35mins as not to over roast them – just enough to kiss them with smoke. Then allow to cool – this is important because we don’t want to accidentally scramble our eggs!

4. Reduce the two litter of Coca-Cola on medium/high heat till it reduces down to a half cup of thick syrup. Watch carefully, stirring as to not make caramel and burn the house down as I did. This can take around an hour or so.

5. Mix eggs, sugar, butter, vanilla & cinnamon together in a large bowl. Stir in corn syrup and reduced Coca-Cola after it has cooled. Then fold in the smoked pecans.

6. Pour into pie crust, place on center rack and bake for 60-70mins at 350 degrees.

7. Pie will have some jiggle when you take it out of the oven. It will take 2 hours for pie to completely cool and set.

Categories
Cook Book

Green Tomato Pie

Traditionally, green tomato pie made during the Civil War era was a sweet version – kinda like apple pie. Initially I felt compelled to be accurate. Unfortunately, like a lot of history, to tell it plainly is often ugly and gross. Trust me, the O.G. tomato pie was no different. So instead we decided on this delicious, savory version!

Ingredients:

Crust (adapted from Sister Pie by Lisa Ludwick) 

2.5 cup all purpose flour

1 tsp of granulated sugar

1 tsp of salt

1 cup (2 sticks) European butter

1 cup  water plus 2 tablespoons of apple cider vinegar cold (make ahead and set in the fridge)

5 green tomatoes

½ pound of bacon

2 sweet onions chopped

Salt, pepper, cumin, garlic powder

1 tbsp cornstarch 

1 cup of shredded cheese (we used  ½  cup of Harvey’s Habanero Jack and ½ Sage cheeses)

1 cup of Mayo (unless you’re making mayo in the crib, use Dukes!)

Directions:

I know, I know! Making pie crust seems daunting, but all you need is a delicate touch and very cold butter. 

  1. Start by mixing all the dry ingredients. Using a pastry cutter or fork, break up the butter into the dry mix until you start to see pea-size pieces. This will be totally worth the wrist workout, as the cold butter will ensure a flaky crust. 
  1. Next add the cold water vinegar solution little by little, working it together with your hands. Just enough for it to form a little mound. The idea is to see bits of cold butter worked in but not melted. Cut the dough in half. Toss one in the fridge and one in the freezer( You’ll need it for part 3 in our podcast series!)

**Preheat oven to 350

  1. Place a skillet over medium high heat and sauté your bacon. As the fat starts rendering add the onions. Add the tomatoes once the onions go translucent and season the mixture. I kept it relatively simple with salt, pepper, garlic powder and cumin. 
  1. You’ll notice the water released from the tomatoes has made our filling thinner than suitable for a pie. Add a tablespoon of cornstarch to help thicken it back up. Turn the heat on low. Let it simmer. As it thickens, combine the shredded cheese and mayo and set to the side.
  1. Flour a surface and roll out the dough a quarter inch thickness. Place in a 9in pie pan, delicately stretching and pulling your dough till it’s covering the pan. Par bake the crust for 5 mins. (That’s just enough to keep it from going soggy as you add the filling.)
  1. Once you’ve par baked the crust, add the filling and top it all with the mayo cheese mixture, spreading it till it covers the whole pie. Staying at 350, bake the pie for another 20-25mins or until both the cheese and crust are golden brown.